Please to be sure to save all your work as you are moving along! If you do not save it, you will need to restart the quote from the beginning
- From the Broker Portal click on the New Quote Tab
- Select Group Quote
- Enter group’s name, effective date, and zip code
- Choose rating method for the quote: Member Level or Composite (Underwriting is for Large Group only)
Entering Details:
There are two different options for entering employee information. If only the required information is entered, the remaining information can be added during the application process.
Option A – Manually Enter Employee Basic Information
If you choose this option, you only need to enter the required information at this time; date of birth, gender, zip code, waiving coverage (if they are declining), and employee class.
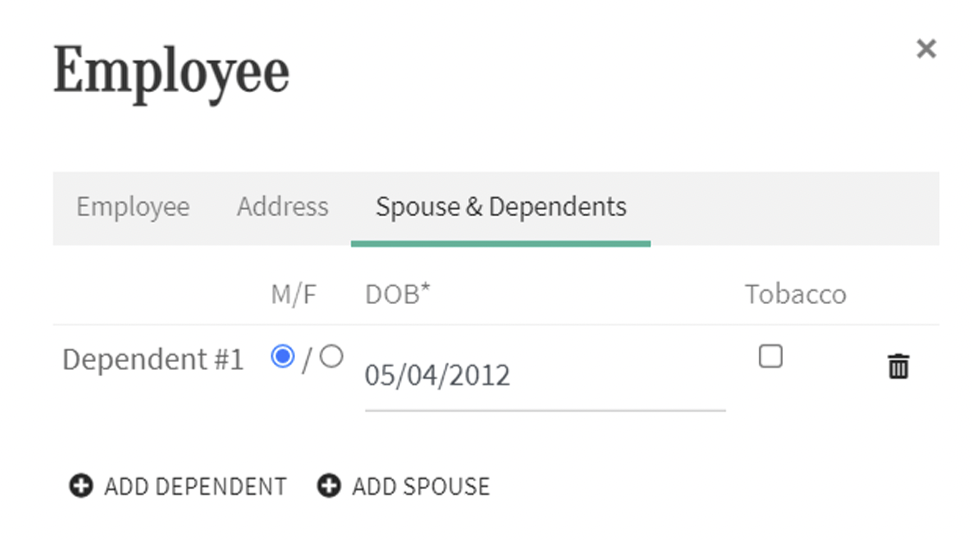
If you are adding dependents/spouses, click on the edit button for the employee you are adding a dependent or spouse to (in employers’ row). You will need to add the employees first and last name if you are adding a spouse or dependent to move forward.
Go to the Spouse & Dependent tab and add the dependent or spouse information. The gender and DOB are only required at this time.
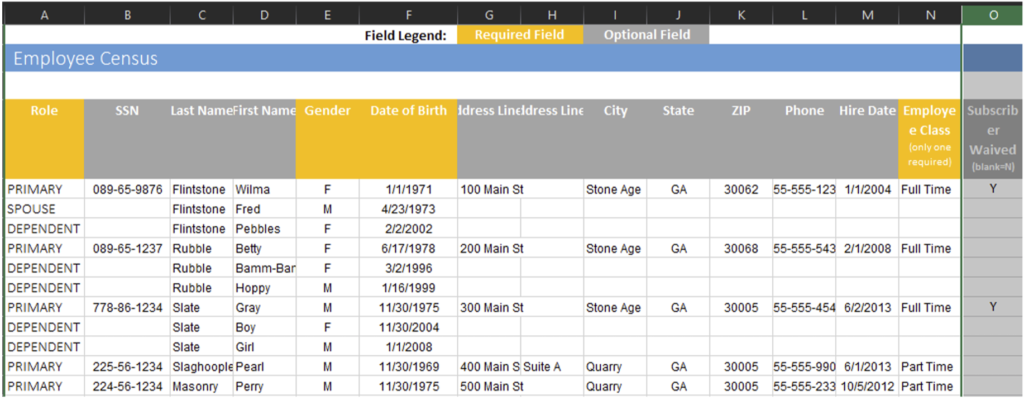
Option B – The Employee Census Form
Complete an employee census spreadsheet to upload all details at once. Download sample spreadsheet.
Obtain all employee information before uploading it. You will not need to go back and add information during the application stage if choose this option.
You can find an employee census spreadsheet at the top on Step 2 or download here.
Add any dependents or spouses underneath the employee as shown above using SPOUSE OR DEPDENENT and PRIMARY for the employee. Even if an employee waives coverage
After the sheet is completed, their info needs to be added and spreadsheet is completed choose “Upload Employee Spreadsheet” option to import employee census.
Choose Contribution Methods
Choose between the two contribution methods below, Tier-Based or Member-Level.

Select the employer contribution either using dollar contributions or a percentage.
Select the plans to present in the proposal.
You may include all the plans, or just one. Under each plan there is also a button that allows you to compare plans.
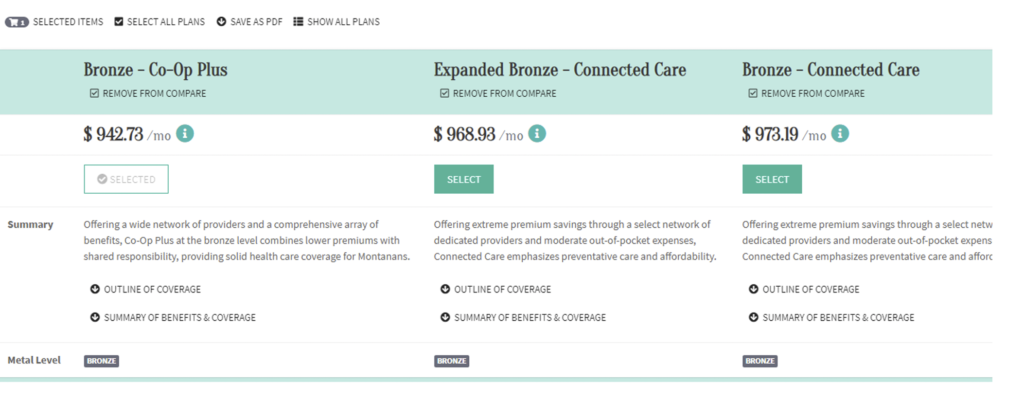
Comparing Plans
Check the plans to compare via ‘Add to Compare’ box. Select the chart button to the right to view all comparisons.
The comparison can be saved as a PDF to include with the proposal.
To add more plans for comparison, or select which plans to keep, click the “Show All Plans” button at the top to go back to your proposal page.
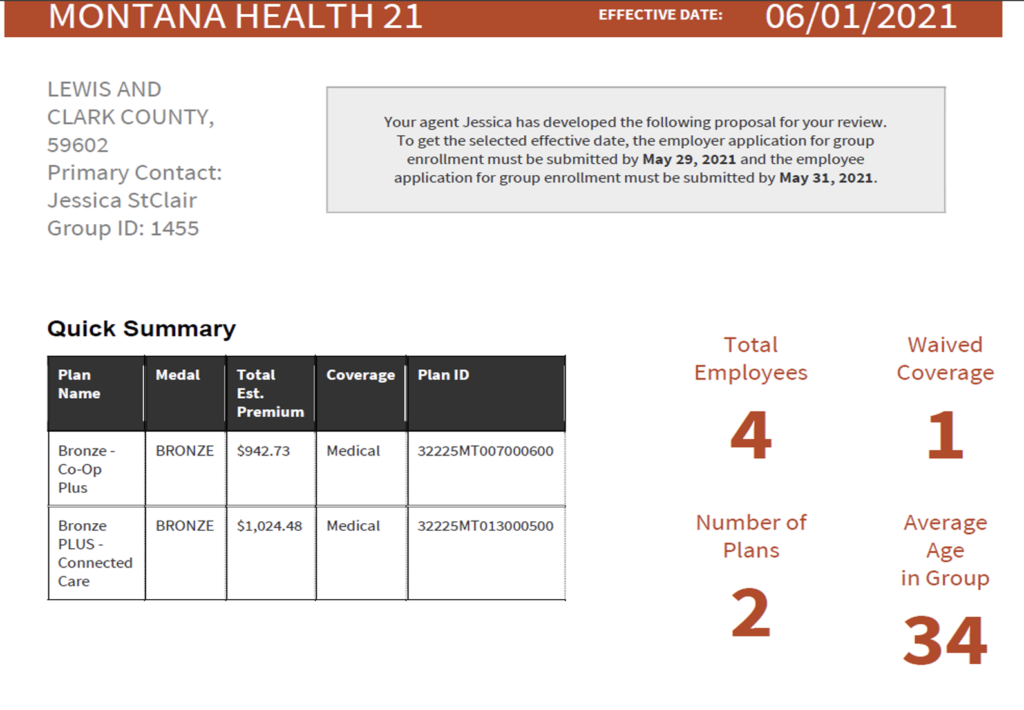
Send the proposal
Final step is to send the proposal. You can either download the proposal as a PDF or email it to the employer.
Once accepted, the next step is the application process.