
Start the Application
- Open the group on the portal and click “Start Application” at the bottom of the page.
- The first step is to complete the required information relating to the group
- You Will Need:
Date Business Established
Tax Identification Number
Type of Organization
- You Will Need:
- Select the open enrollment start date: EX 05/20/2021 You can also choose the Length of Enrollment Period: EX 1 days. The eligibility information is all automatically entered and can be left as is.
- Enter number of Employees on Medicare
- Complete the primary contact contact information. Each group is required to have a primary contact. More than one contact can be added. Choose from the drop-down menu what type of contact is being added.
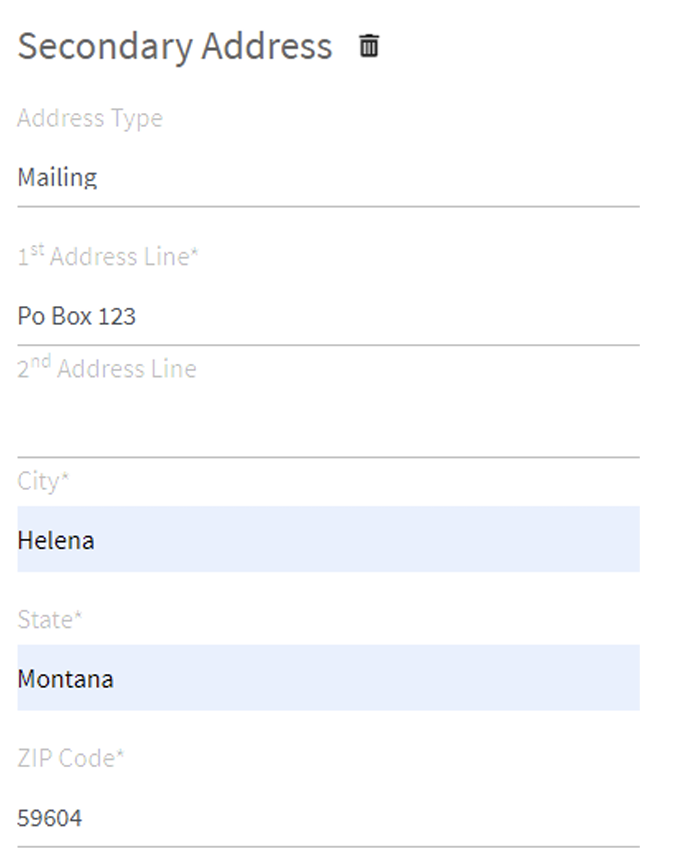
ex: human resources, billing, owner, etc - Add primary address. If mailing address is different than the primary, please add a Secondary Address and mark as mailing.
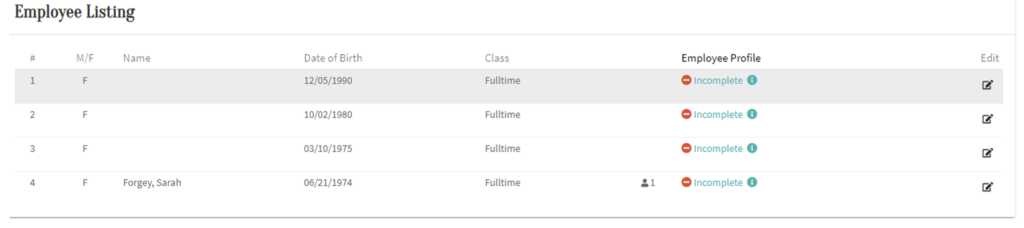
Add additional information if the employee census spreadsheet was not used during the proposal. Employees will have an incomplete status under employee profile until all information is included.
Click ‘Update’ once one to save changes.
If you have any documents you would like to add for document tab. There are no required documents you need to move forward.
Summary
Review the summary of your application. If any information is missing or not entered correct you will have an ‘Incomplete’ status for that specific tab. You will also see your selected plans underneath that are available for each employee.
After reviewing the summary, click the submit button at the bottom of the page.
Once submitting It will go into Open Enrollment right away
Employee Enrollment
After open enrollment begins, each employee will need a benefit assigned to them.
1. Open the group’s account and click on the Employee Tab.
Employees can self-enroll, or the agent can enroll the employees. If self-enrolling, be sure the option to send employee enrollments emails
was marked “yes” during the application. If the agent is enrolling employees, click on the blue arrow next to the
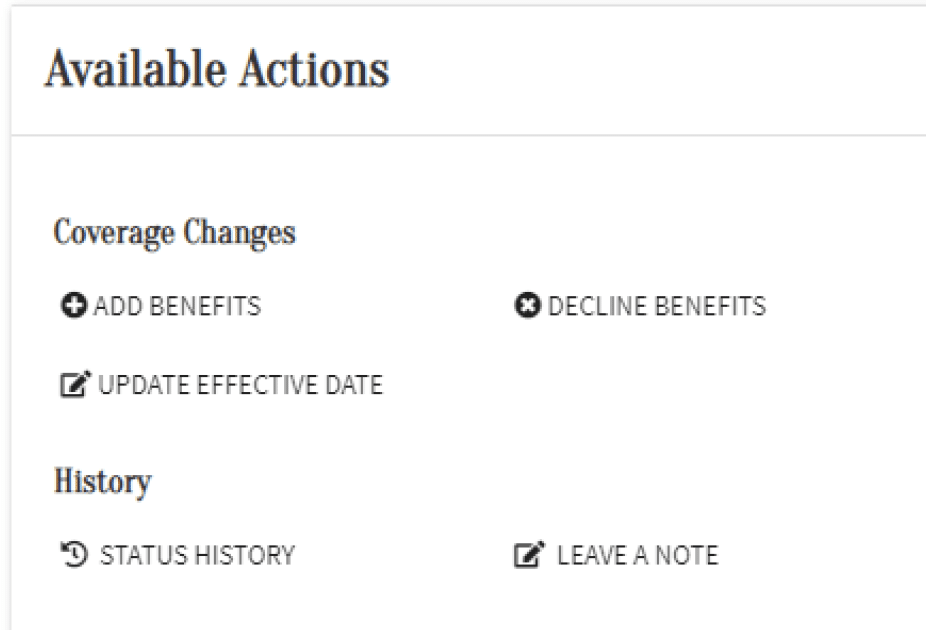
employee to open their account. On the right-hand side of the page, you will see ‘Available Actions’ and there will be an option to ‘Add Benefits’ or ‘Decline Benefits’.
Bulk Enroll Employees
Select the drop-down arrow and choose ‘Extract Active Members’ .
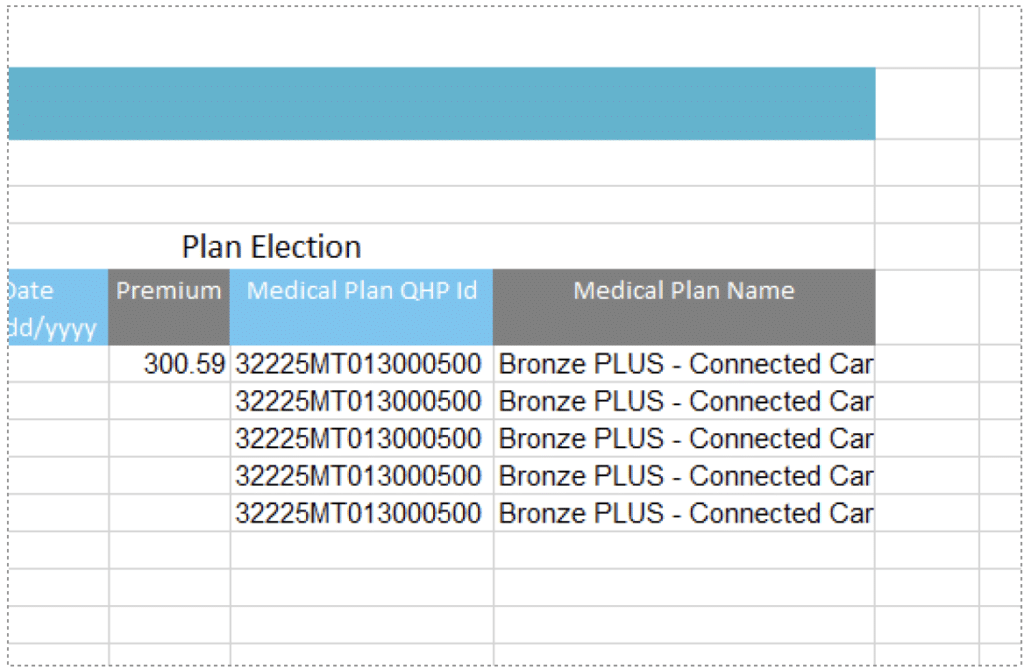
This will open an excel sheet for you to add the benefits for each
employee. If you scroll over to the right of the sheet, Medical Plan QHP ID and Medical Plan Name is needed for each employee.
Medical Plan Name is needed for each employee under the Product Tab within the group.
When you have this information go back into your spreadsheet and add the Plan Name and Plan ID for each employee.
Go back to the Employee Tab, and under the ‘Bulk Actions’ drop-down arrow there is an option to ‘Bulk Enroll Employees’
Select that option to upload the spreadsheet you just created.
After each employee has a benefit selected or have selected decline coverage the group can be submitted. Submit for carrier review. MHC will approve.
On the group dashboard, and click on the Submit Group Enrollment and pay option
This will take you to the Collect Payment page.
The group can either have a bill mailed to them or have a payment submitted on that page. After selecting the option, click Next and then Submit.
Submit enrollment and pay.
*Your employee enrollment forms will be sent to membership team for processing and ID cards will be sent out within 10 business days.
Grant the Primary Contact access to their employer portal.
Open the group account on the portal, and click on the Contacts Tab. Next to the Contact, click on the 3 dots, and choose “Register Group Admin”.
An email will be sent to that email address with instructions to access employer portal.